LED Basics for Beginners: Wiring, Resistors, and Power Explained
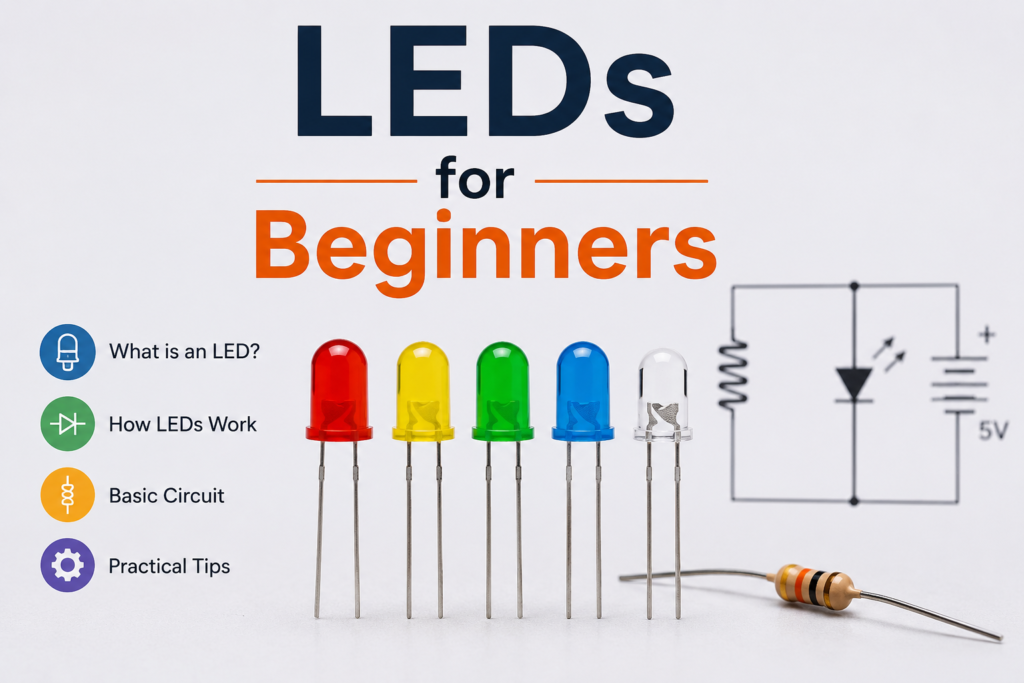
If you’ve never wired an LED before, the idea of resistors, polarity, and voltage math can feel like a lot just to make one tiny light turn on. It isn’t complicated once you know the handful of rules that actually matter and once you do, it becomes obvious why so many modelers, dollhouse builders, and prop makers eventually switch to pre-wired LEDs instead of doing this math on every single light. Here’s the beginner-friendly version of how LEDs actually work.
What You Need to Light an LED
At the absolute minimum, an LED needs two things: a power supply and a matching (or safely reduced) voltage. In practice, almost every real circuit adds a third part a resistor to protect the LED from more current than it can handle.
- The LED — comes in different sizes, voltages, colors, and brightness levels.
- A power supply — a battery, battery pack, or DC power source.
- A resistor — limits current so the LED doesn’t burn out.
Finding Positive and Negative
Every LED has two leads (electrodes): positive (anode) and negative (cathode). Get this backward and the LED simply won’t light — it won’t damage anything, so it’s a safe mistake to test for.
- On a standard through-hole LED, the longer lead is usually positive and the shorter lead is negative.
- Looking inside the LED itself, the smaller metal piece is typically connected to positive and the larger piece to negative.
- On pre-wired micro LEDs and SMD LEDs, polarity is usually marked by wire color (commonly red for positive, and either black or a plain enameled wire for negative) since there’s no long/short lead to go by.
Beginner tip: if an LED doesn’t light the first time, don’t assume it’s broken flip the polarity and try again first.
Matching Voltage to Your Power Supply
LEDs need enough voltage to light, but too much voltage will burn one out almost instantly. Standard LEDs typically run on somewhere between 1.7V and 3.5V depending on color, and most draw about 20 milliamps (mA) of current at their rated brightness.
If your power supply voltage is close to or slightly above the LED’s rated voltage, you’re in safe territory with a small resistor. If your power supply is significantly higher than the LED’s voltage a 9V battery powering a 2V LED, for example a resistor isn’t optional.
The Resistor Formula (and Why It Exists)
The standard formula for figuring out what value resistor to use is:
R = (V1 − V2) ÷ I
Where:
- V1 = power supply voltage
- V2 = LED’s rated voltage
- I = LED current, usually 0.02A (20mA) for a single standard LED
Example: A 2V LED on a 9V supply needs roughly R = (9 − 2) ÷ 0.02 = 350 ohms. Since resistors come in standard values, you’d round up to the next available size (never down — a lower resistance lets through more current than the LED can safely take).
Beginner tip: when in doubt, size up. A slightly higher resistor value just makes the LED marginally dimmer; a lower one risks burning it out.
Wiring Multiple LEDs: Series vs. Parallel
Once you’re lighting more than one LED, you have two wiring options, and they behave very differently.
| Series wiring | Parallel wiring | |
|---|---|---|
| How it’s connected | LEDs chained end-to-end (negative of one to positive of the next) | All positives joined together, all negatives joined together |
| How voltage is shared | Total supply voltage is divided across the LEDs | Each LED receives the full supply voltage |
| Current draw | Same current flows through the whole chain | Current draw adds up across all LEDs — drains batteries faster |
| Best for | Multiple identical LEDs sharing one modest power source | LEDs that each need their own resistor and full voltage |
| Common mistake | Mixing LEDs with different voltage ratings in one chain | Wiring all LEDs to a single shared resistor instead of one resistor per LED |
Headline for beginners: series divides voltage between LEDs; parallel gives each LED the full voltage but pulls more total current. Never mix different LED colors or voltages in the same series chain, and always use a resistor per LED when wiring in parallel.
Common Beginner Mistakes
- Wiring resistors in parallel instead of series when combining them. Two resistors in series add their values (100Ω + 100Ω = 200Ω); the same two in parallel only give you half (50Ω) a common mix-up that under-protects the LED.
- Assuming all LEDs behave the same. Voltage and current ratings vary by color and size, especially between standard 5mm LEDs and the smaller SMD micro LEDs used in models and miniatures.
- Skipping the resistor “because it worked once.” An LED can survive brief overcurrent without failing immediately, but repeated or sustained overcurrent shortens its life significantly.
When It Makes Sense to Skip the Math
Working out resistor values is a genuinely useful skill, and it’s worth doing at least once so you understand what’s happening in a circuit. But for hobby applications lighting a model train building, a dollhouse room, a diorama scene, or a cosplay prop most builders eventually move to pre-wired micro LEDs with the resistor already built in and the correct voltage pre-matched to a battery pack. It removes the resistor calculation entirely and lets you focus on the build itself rather than the electronics.
Frequently Asked Questions
What happens if I use the wrong resistor value? Too high a value just makes the LED dimmer than expected. Too low a value allows excess current through, which can shorten the LED’s life or burn it out immediately.
Can I wire LEDs without a resistor at all? Only if the power supply voltage is at or below the LED’s rated voltage for example, a 1.5V battery powering a 1.7V LED. Any meaningful gap between supply voltage and LED voltage needs a resistor.
Is it safe to mix different color LEDs in the same circuit? In parallel, yes, as long as each LED has its own correctly sized resistor. In series, no different colors usually have different voltage ratings, and chaining them together makes the resistor math (and the results) unreliable.
The Bottom Line
Every LED circuit comes down to the same three questions: which lead is positive, does the voltage match, and does the current need a resistor to limit it. Once those three are second nature, wiring LEDs in series or parallel is just a matter of picking the right approach for how much voltage you have and how many lights you’re powering. And for anyone building models, dioramas, dollhouses, or props rather than studying electronics, pre-wired micro LEDs with the resistor and battery pack already matched are the fastest way to skip straight to the fun part.

James Scott was born in Missouri and studied at the University of Central Missouri. Currently working as Manager at ActoutLoud, James Scott helps readers learn the fields of Law, Marketing, Construction, Education, Health, etc hone their skills, and find their unique voice so they can stand out from the crowd.
Frequently Asked Questions
What are the basic components needed to light an LED?
How do I identify the positive and negative leads on an LED?
What is the proper resistor value formula for an LED circuit?
What are the differences between wiring LEDs in series and parallel?
Can I skip using a resistor when wiring an LED?
How to Cite This Article
James Scott. "LED Basics for Beginners: Wiring, Resistors, and Power Explained." Act Out Loud, July 27, 2026. https://actoutloud.org/led-basics-for-beginners-wiring-resistors-and-power-explained/