How to Install Polyurethane Balusters for a Home Makeover?
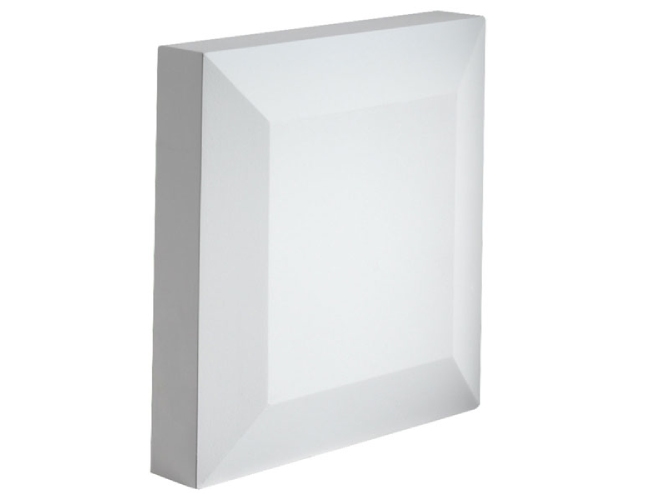
Polyurethane balusters are an excellent choice for homeowners who are looking to upgrade the look of their homes without the hassle or cost of a major renovation. They create a visually appealing and modern look with an easy installation process. This article covers the basics of polyurethane balusters and provides useful advice on how to install them. We’ll also take a look at the tools you’ll need, the preparations that should be made, and why it’s important to choose the right size.
What Are Polyurethane Balusters and How to Install Them?
Polyurethane balusters are railing covers made out of polyurethane material, which is a flexible, durable plastic. This material is ideal for staircases, decks, porches, and other areas of the home. It’s easy to install and maintain. The installation process involves securing the balusters to wood posts, which are affixed to the structure itself. To do this, you’ll need to drill holes in the frame and use screws and anchors to secure the balusters.

Tips for a Seamless Polyurethane Baluster Installation
- Pre-drill holes before you begin: Before attempting to attach the balusters, use a power drill to predrill pilot holes in the railing’s sub rails where the balusters are to be installed. This will make the installation process easier, and help ensure that the balusters are properly installed with the proper amount of tension.
- Measure and cut accurately: Having the right measurements is essential for a seamless polyurethane baluster installation. Be sure to measure twice, cut once, and keep a mental or physical record of the cuts to ensure each baluster is of consistent length and alignment.
- Apply caulk or adhesive: Using caulk or an adhesive between the baluster and sub rails will provide an extra level of security and help to mitigate any potential movement.
- Tighten the baluster firmly: Make sure the balusters are tightly secured to the railing’s sub rails. Loose balusters can be unsightly and even dangerous depending on the application. So it is crucial that each baluster is tightened securely.
- Fill in the gaps: To achieve a professional, smooth look, use a urethane or polyurethane filler to fill in any gaps between the balusters. This will create a polished, seamless finish that will give your installation a professional look.
Essential Tools for Installing Polyurethane Balusters
Some of the essential tools you’ll need for the installation of polyurethane balusters include a drill, drill bits, wood screws, anchors, a level, a measuring tape, and a jigsaw. Make sure you have all the necessary tools before you begin the installation process.
When preparing for the installation of polyurethane balusters. It’s important to ensure that the structure is properly supported so that all of the pieces can be secure. It’s important to level it out with shims and use wood screws to secure the balusters. You should also make sure that all of the pre-drilled holes for the polyurethane pieces line up correctly.
Choosing the Right Size of Polyurethane Balusters
Once you have made the necessary preparations, you should choose the right size of polyurethane balusters. It’s important to make sure that the balusters match the existing structure and fit perfectly. Measure the distance between the posts and the frame so that you get the right size before you begin drilling.
After you have chosen the right size of balusters, it’s important to make sure that they are leveled properly. The balusters must be perfectly aligned with the frame so that the final look is even and aesthetically pleasing. To achieve this, use a level to make sure that the balusters are flush against the frame.
Measuring and Cutting Polyurethane Balusters
Once you’re sure that the balusters are level, you should begin measuring and cutting the pieces. Make sure that the measurements are accurate and that the cut pieces fit perfectly into the pre-drilled holes. Use a jigsaw and the appropriate drill bits to make sure that the balusters are cut to the correct size.
Once you’ve secured the balusters with screws and anchors, you should be able to complete the installation. Take a few moments to admire your work and bask in the satisfaction of seeing the perfect balustrade that you have crafted. This home makeover will be sure to impress friends and family.
Conclusion
Polyurethane balusters are an excellent choice for updating the look of your home without the cost and difficulty of a major renovation. Installation is relatively easy and straightforward, providing you with plenty of time to make sure that all of the measurements and preparations are accurate. With the right tools, safety precautions, and measurements. You’ll be able to transform your home in no time and enjoy a stunning new look.

James Scott was born in Missouri and studied at the University of Central Missouri. Currently working as Manager at ActoutLoud, James Scott helps readers learn the fields of Law, Marketing, Construction, Education, Health, etc hone their skills, and find their unique voice so they can stand out from the crowd.
How to Cite This Article
James Scott. "How to Install Polyurethane Balusters for a Home Makeover?." Act Out Loud, June 8, 2023. https://actoutloud.org/how-to-install-polyurethane-balusters-for-a-home-makeover/